Introduction
Getting seamless internet coverage across your home or office can be a challenge. Dead zones, weak signals, and dropped connections can hamper productivity and leisure. A TP-Link WiFi extender offers an efficient solution to these common issues. Designed to amplify your existing WiFi signal, TP-Link WiFi extenders are easy to set up and ensure robust internet connectivity across your space. In this comprehensive guide, we will walk you through three primary methods for setting up your TP-Link WiFi extender. Additionally, we'll provide optimal placement tips and troubleshooting solutions to ensure a smooth and hassle-free experience.
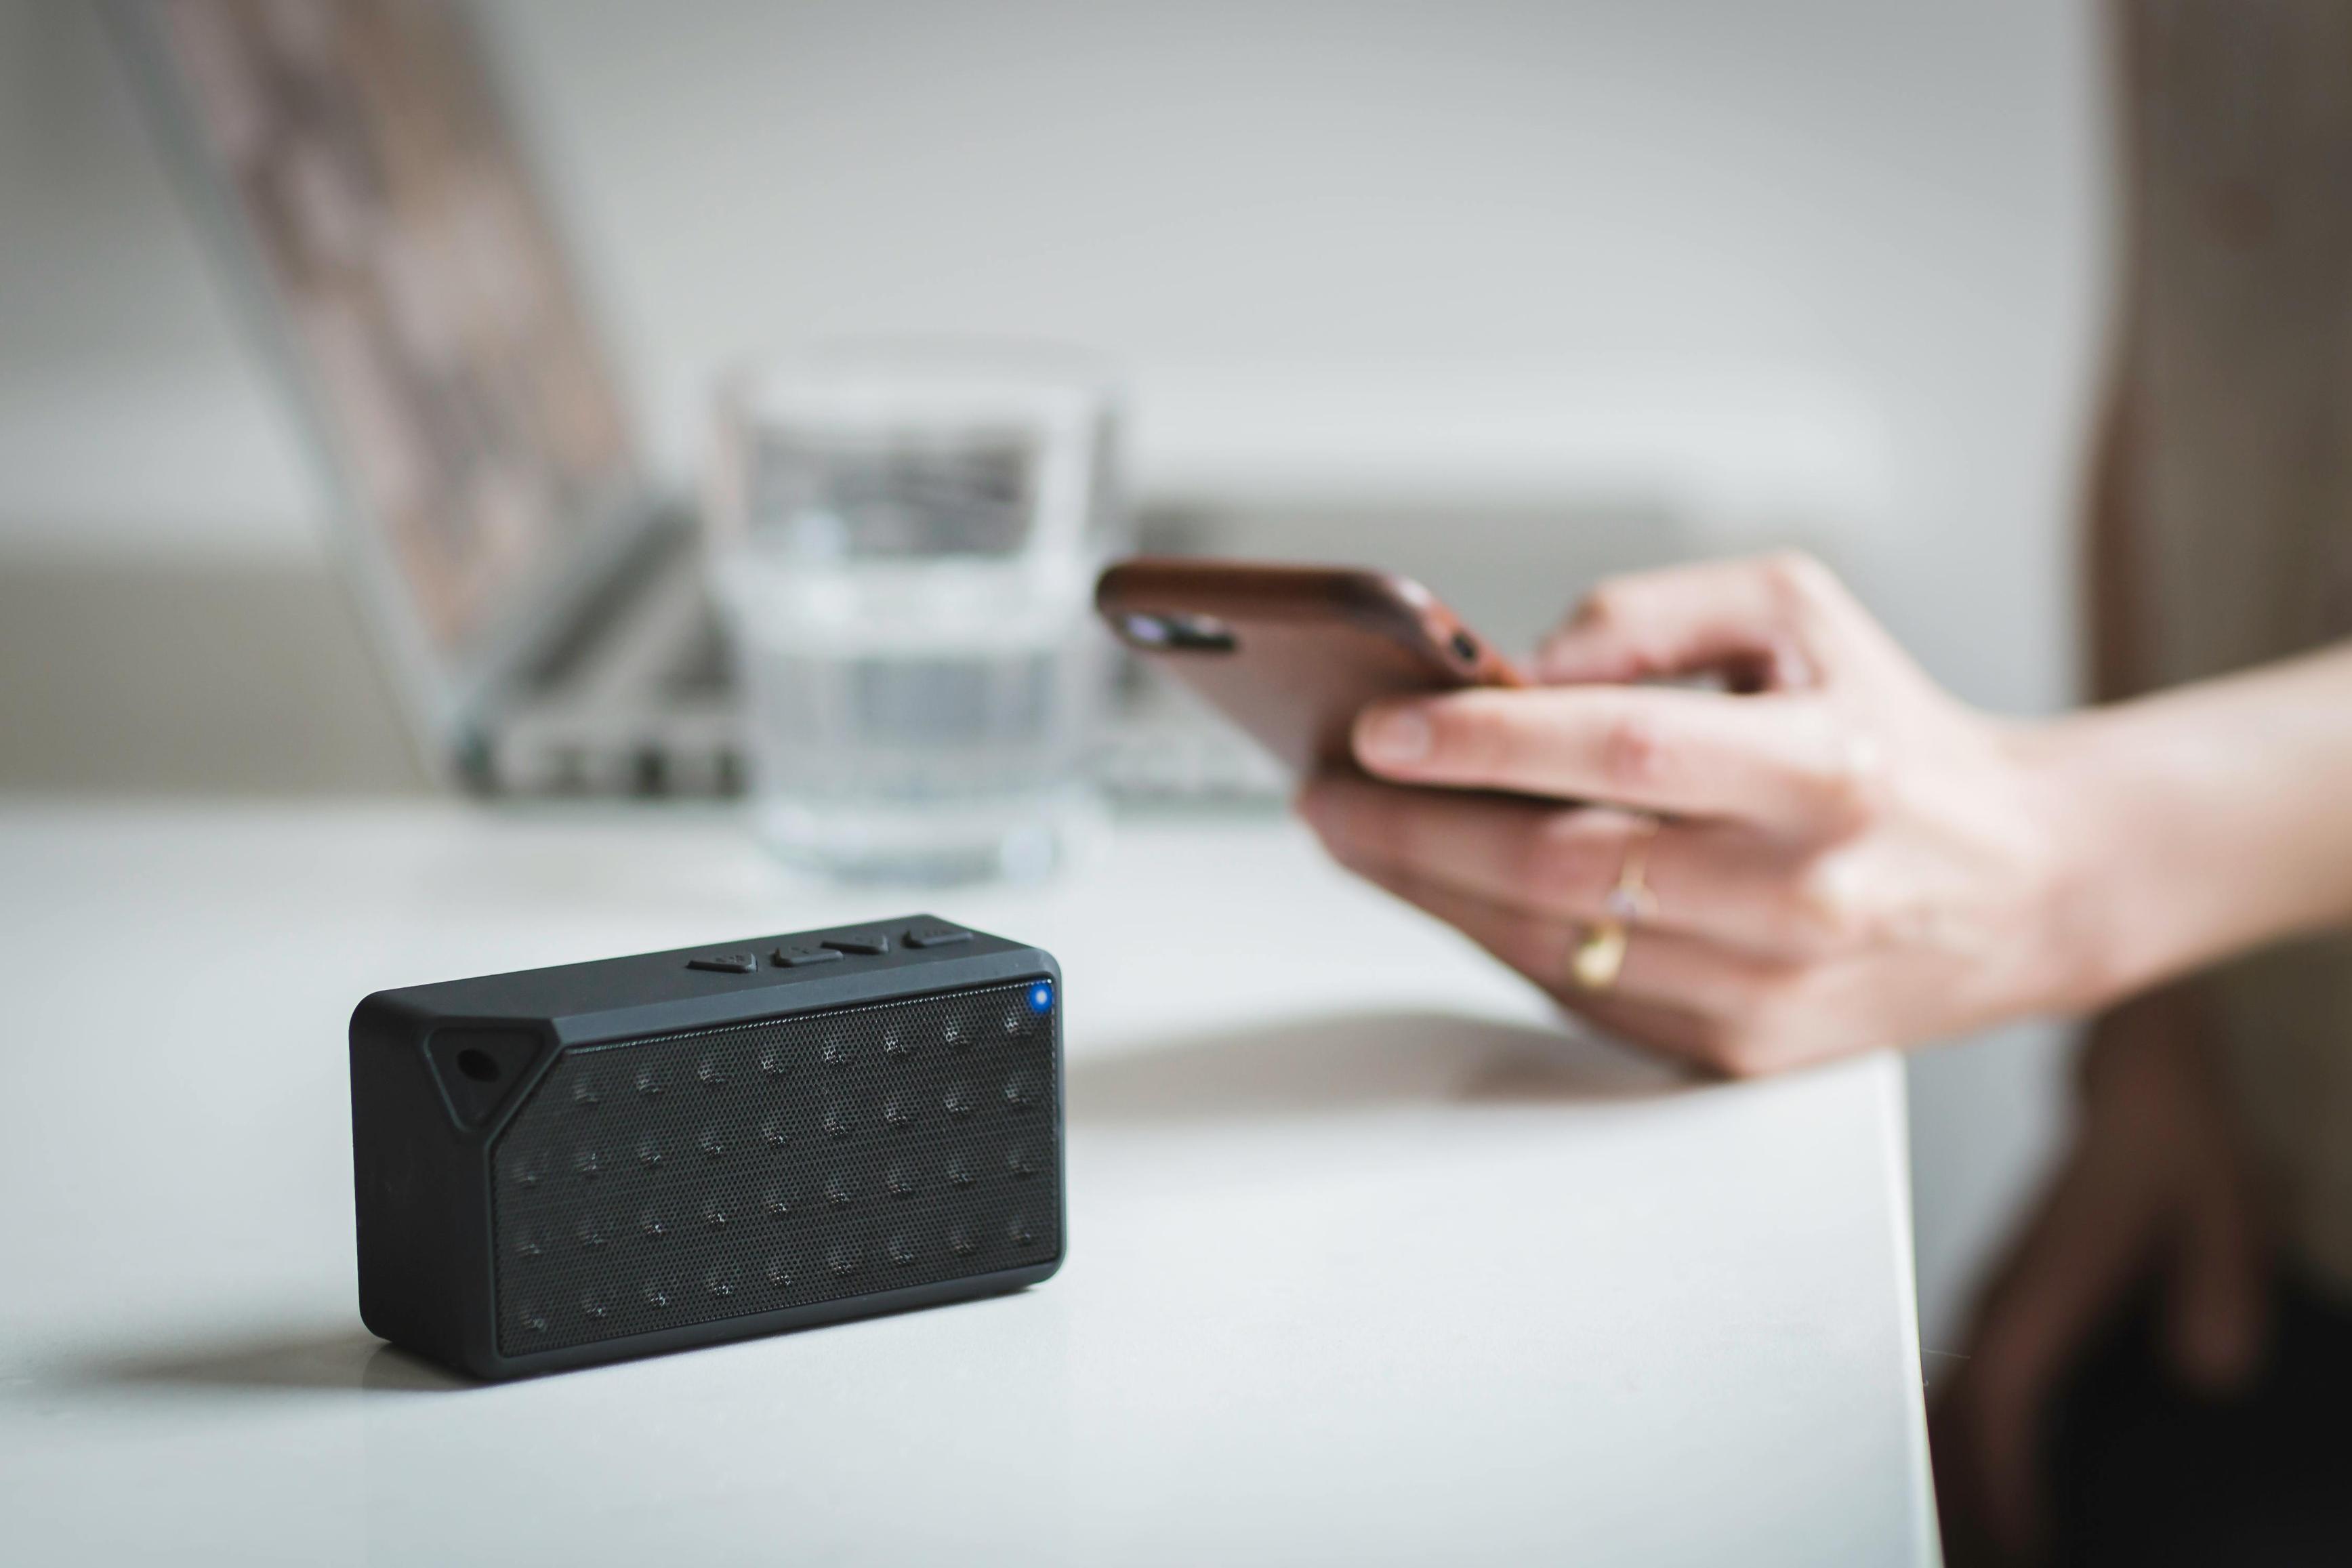
Preparation Steps
Before setting up your TP-Link WiFi extender, a few initial steps can ensure a seamless installation process:
- Unbox your extender: Ensure all package contents are intact, including the WiFi extender, power cable, and user manual.
- Locate your router: Place the extender within close proximity to your existing WiFi router for the initial setup.
- Power up the extender: Connect the WiFi extender to a power source, and wait until the power LED is stable.
- Verify connectivity: Use your smartphone or laptop to confirm the extender is ready (usually indicated by the power LED turning solid green).
Upon completing these steps, you are ready to proceed with the actual setup process.
Setting Up Using the WPS Method
The WPS (Wi-Fi Protected Setup) method offers a quick and easy way to sync your TP-Link WiFi extender with your router without needing a web-based interface.
- Press the WPS button on your router: Typically, the WPS button is located at the front or back of your router.
- Press the WPS button on the extender: Shortly after pressing the router's WPS button, press the WPS button on your TP-Link extender.
- Wait for the connection to establish: The WPS LED indicator on both devices will start blinking. After a few moments, it should turn solid, indicating a successful connection.
- Relocate the extender: Once connected, move your extender to a location halfway between your router and the area requiring enhanced WiFi coverage.
The WPS method is ideal for those looking for a straightforward and quick setup process.
Setting Up Manually via Web Browser
For a more controlled setup, you can manually configure your TP-Link WiFi extender using a web browser. This method is particularly useful for users with advanced network preferences.
- Connect to the extender's network: On your laptop or smartphone, connect to the TP-Link extender's default SSID.
- Access the web interface: Open a web browser and enter
http://tplinkrepeater.net in the address bar.
- Login credentials: Use the default administrator login credentials (usually found on the device label or in the user manual).
- Run the Quick Setup wizard: Follow the on-screen instructions to choose your WiFi network and enter your network password.
- Set the SSID and password: Optionally, you can configure a different SSID and password for the extender to help differentiate it from your main network.
- Save and reboot: Apply the settings and reboot if prompted.
Connecting your devices to the newly configured extender SSID will now provide enhanced WiFi coverage.

Setting Up Using the Tether App
The TP-Link Tether app provides a convenient method to set up your WiFi extender using your smartphone or tablet.
- Download and install the TP-Link Tether app: Available on both iOS and Android platforms.
- Connect to the extender's network: Join the TP-Link WiFi extender's default network.
- Open the Tether app: Launch the app and log in to your TP-Link ID or create a new account if you don't already have one.
- Select your extender: The app should automatically detect your TP-Link extender.
- Follow setup instructions: Complete the setup by following the in-app prompts to connect the extender to your existing network.
Using an app offers a fluid, user-friendly way to manage your network settings from the comfort of your mobile device.
Optimal Placement of Your Extender
Proper placement of your TP-Link WiFi extender plays a critical role in its performance. Here are some tips to ensure you get the best coverage:
- Halfway point: Position the extender halfway between your primary router and the WiFi dead zone.
- Elevated position: Place your extender on a raised surface, such as a shelf, to minimize physical obstacles and interference.
- Avoid obstructions: Keep the extender away from large thick walls, metal objects, and electronic appliances like microwaves, which can interfere with the signal.
Placing your extender in an optimal location ensures broader and more consistent WiFi coverage.
Troubleshooting Common Issues
Occasionally, you may encounter setup issues or performance hiccups with your TP-Link WiFi extender. Here are some common problems and their solutions:
- Extender not connecting to the router:
- Ensure your router's WPS feature is enabled.
- Move the extender closer to the router and try again.
-
Manually set up using the web interface if WPS fails.
-
Poor connection or slow speeds:
- Check for firmware updates on the TP-Link website.
- Relocate the extender to improve signal strength.
-
Reduce the number of devices connected to the extender.
-
Extender not showing up in the WiFi list:
- Reset the extender to factory settings and retry the setup process.
- Verify that all LEDs on the extender are displaying expected behavior.
By addressing these common issues, you can ensure a more reliable and trouble-free WiFi experience.

Conclusion
Setting up your TP-Link WiFi extender can vastly improve your wireless connectivity across various areas of your home or office. Whether you opt for the WPS method, web browser setup, or the Tether app, each provides a straightforward process to enhance your network. Additionally, optimal placement and quick troubleshooting can further ensure a seamless operation.
Frequently Asked Questions
What to do if my TP-Link extender is not connecting to my router?
Ensure the extender is within range of the router, reboot both devices, and retry the WPS or manual setup process.
How to reset my TP-Link WiFi extender?
Press and hold the reset button on the extender for about 10 seconds until the LEDs blink, indicating the device has been reset to factory settings.
Can I use multiple TP-Link extenders in my home?
Yes, you can use multiple extenders to cover larger areas. Set them up individually following the same methods, ensuring they are within range of each other and the primary router for optimal performance.